

The Perfect Room-by-Room Cleaning Guide — Part 3: Deep Cleaning Your Living Room
Quick Summary: Learn everything you need to know about home cleaning. This guide covers the most effective methods, top tips, and practical steps you can use right away.
Welcome back to our Room-by-Room Cleaning Guide series! In [Part 1, we tackled the kitchen](INTERNAL_LINK: Part 1 Kitchen) — degreasing surfaces, sanitizing countertops, and organizing cabinets. In [Part 2, we conquered the bathroom](INTERNAL_LINK: Part 2 Bathroom) — scrubbing tile grout, eliminating mildew, and making fixtures shine. Now it is time for the room where your family spends the most waking hours: the living room.
The living room is the heart of daily life. It collects dust, pet hair, food crumbs, and fingerprints faster than almost any other space. A thorough deep clean here does more than improve appearances — it improves the air you breathe and extends the life of your furniture. Let us walk through every surface, step by step.
Before You Begin: Gather Your Supplies
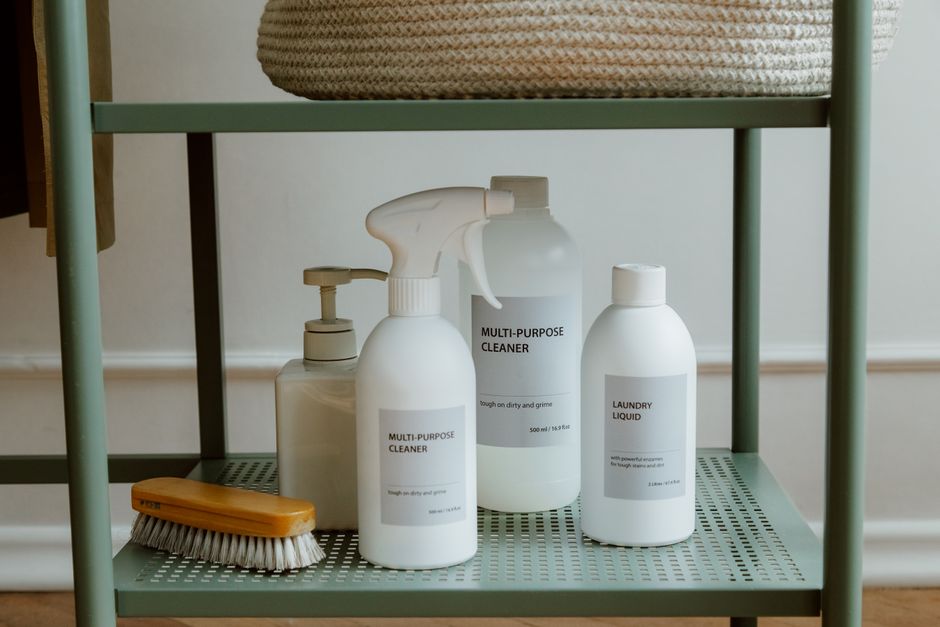
Having everything ready prevents unnecessary trips back and forth. Here is what you will need:
- Microfiber cloths (at least 4-5)
- A vacuum with upholstery and crevice attachments
- All-purpose cleaner
- Glass cleaner
- Wood or multi-surface polish
- Baking soda
- A lint roller or pet hair remover
- A step stool or small ladder
- A bucket of warm water
Pro Tip: Work Top to Bottom
Dust and debris fall downward. Always start with the highest surfaces — ceiling fans, light fixtures, and top shelves — and work your way down to the floor. This way, you only vacuum and mop once.
Step 1: Ceiling Fans, Light Fixtures, and High Shelves
Ceiling fan blades are notorious dust collectors. Slip an old pillowcase over each blade and wipe inward so the dust falls into the case instead of onto your furniture. For light fixtures, remove glass shades if possible and wash them in warm soapy water. Wipe bulbs gently with a dry microfiber cloth once they are cool.
For high shelves and crown molding, a microfiber duster with an extendable handle works best. A damp microfiber cloth picks up dust far more effectively than a dry feather duster, which tends to just redistribute particles.
Step 2: Upholstered Furniture — Sofas, Chairs, and Cushions
Upholstery holds onto allergens, pet dander, crumbs, and odors. A surface wipe is never enough for a true deep clean.
Remove and Vacuum Cushions
Take all cushions off and vacuum the frame underneath using a crevice attachment. You will likely find coins, crumbs, and hair ties in there. Vacuum each cushion on all sides.
Spot-Treat Stains
Check the care tag on your furniture. Most fabric sofas have a "W" (water-based cleaner safe) or "SW" (solvent or water-based) code. For common stains, blot — never rub — with a damp cloth and a small amount of upholstery cleaner. For odors, sprinkle baking soda over the fabric, let it sit for 15-20 minutes, then vacuum it up.
Leather Furniture
If you have leather sofas or chairs, wipe them down with a damp microfiber cloth and follow up with a leather conditioner to prevent cracking.
Step 3: Carpets and Rugs
Your carpet is essentially a giant filter that traps dust, allergens, and bacteria. Regular vacuuming handles the surface, but deep cleaning gets to what is hidden below.
Vacuum Thoroughly First
Go over the entire carpet slowly, making overlapping passes. Use the appropriate height setting for your carpet type — too high and the vacuum will not pick up much; too low and it may damage the fibers.
Treat High-Traffic Areas
Entryways, the path between the sofa and kitchen, and the area in front of the TV stand take the most wear. Sprinkle baking soda on these zones, let it sit for at least 10 minutes, and vacuum it up. This neutralizes odors trapped deep in the fibers.
Area Rugs
Take smaller area rugs outside and shake them vigorously. If they are machine washable, run them through a gentle cycle. For larger rugs, vacuum both sides and spot clean any visible stains.
Step 4: Electronics and Entertainment Centers
Televisions, gaming consoles, streaming devices, and sound bars attract dust through static electricity and ventilation systems.
TV Screens
Never spray cleaner directly on a screen. Instead, dampen a microfiber cloth with plain water (or a screen-specific cleaner) and wipe gently in one direction. Avoid paper towels — they can leave micro-scratches.
Consoles, Speakers, and Remotes
Use a can of compressed air to blow dust out of ventilation slots on gaming consoles and cable boxes. Wipe exterior surfaces with a slightly damp microfiber cloth. For remote controls, remove the batteries, wipe the surface with a disinfecting wipe, and use a cotton swab dipped in rubbing alcohol to clean around the buttons.
Cable Management
While you are behind the entertainment center, take a few minutes to untangle and organize cables. Dust collects rapidly on tangled wire nests, and organized cables make future cleaning much faster.
Step 5: Shelves, Decor, and Books
Bookshelves and display units accumulate a surprising amount of dust, especially on the tops of books and behind photo frames.
Empty and Wipe
For a true deep clean, remove items from each shelf. Wipe the shelf surface with a damp microfiber cloth, dry it, and then return items one by one, wiping each as you go. This is also a good time to declutter — remove anything you no longer want on display.
Picture Frames and Mirrors
Wipe glass frames with glass cleaner and a lint-free cloth. Dust the tops and backs of frames, where cobwebs like to hide. For wall mirrors, spray the cleaner onto the cloth rather than the mirror to avoid drips that can seep behind the frame and cause damage.
Step 6: Windows, Blinds, and Curtains
Blinds
Close the blinds flat and wipe each slat with a damp microfiber cloth, working from top to bottom. Flip them and repeat on the other side. For heavily soiled blinds, a mixture of warm water and a small amount of dish soap works well.
Curtains and Drapes
Check care labels. Many curtains can go in the washing machine on a gentle cycle. If not, vacuum them using the upholstery attachment to remove dust and pet hair. Heavier drapes may need professional cleaning once or twice a year.
Windows
Clean the inside glass with glass cleaner and a lint-free cloth or newspaper for a streak-free finish. Do not forget the window sills and tracks — a vacuum crevice attachment followed by a damp cloth removes trapped dirt and dead insects.
Step 7: Air Vents and Baseboards
These are the most overlooked surfaces in any living room, yet they have a significant impact on air quality.
Air Vents
Remove vent covers and soak them in warm soapy water for 10 minutes. Scrub gently with an old toothbrush, rinse, and dry before reattaching. While the covers are off, vacuum inside the duct opening as far as you can safely reach.
Baseboards
Wipe baseboards with a damp microfiber cloth. For scuff marks, a melamine sponge (magic eraser) works well. Clean baseboards make an entire room look sharper.
Step 8: The Final Floor Pass
Now that all the dust and debris from higher surfaces has settled, it is time for the final floor clean. Vacuum the entire floor one more time. For hardwood or laminate areas, follow up with a damp mop using a floor-appropriate cleaner. Avoid excess water on wood floors — a lightly damp mop is all you need.
Living Room Deep Cleaning Checklist
Use this quick reference every time you deep clean:
- Ceiling fans and light fixtures
- Upholstery (vacuum, deodorize, spot clean)
- Carpets and rugs (vacuum, deodorize, treat stains)
- Electronics and screens
- Shelves, books, and decor
- Windows, blinds, and curtains
- Air vents and baseboards
- Final floor vacuum and mop
What is Next in the Series?
In Part 4, we are heading into the bedroom — tackling mattress cleaning, closet organization, dusting hard-to-reach spots behind furniture, and creating a healthier sleep environment. It is one of the most requested topics in this series, so you will not want to miss it.
Full Series Table of Contents
A clean living room is not just about looks — it is about comfort, air quality, and protecting the furniture and electronics you have invested in. Grab your supplies, put on some music, and work through this guide at your own pace. Your living room will thank you.
Related Reading
🛒 Ready to shop? Browse our Microfiber Cloths — curated products to make your cleaning routine easier and more effective.